
This crochet jellyfish pattern is such a fun, beginner-friendly amigurumi project. It’s made completely in one piece (no seaming—yay!), and uses simple stitches and easy shapes that are perfect if you’re newer to plushies or just want a relaxing make.

Quick summary: This pattern is perfect for beginners and gift-focused crocheters. It uses simple stitches, minimal sewing, and works up quickly.
- Skill level: Beginner
- Great for: Gifts & markets
- Includes: Tips + photo help + video
- Estimated time: 1-2 hours
These little jellyfish quickly became one of my favorite craft fair staples. They work up fast, don’t require much yarn, and are surprisingly budget-friendly. I could get about three jellyfish from a single skein, plus a bit of stuffing and a pair of safety eyes.
All in, each one cost me around $0.20 to make, which meant they were cute, quick, and basically pure profit. Cozy to crochet, easy to love, and perfect for gifting or selling.


Materials:
- 3.25mm/ D crochet hook - I like these Clover Amour ones
- #4 medium weight yarn
- I used Yarn Bee Soft Secret in Pale Aqua
- stitch markers - I like these locking ones and these split ring ones
- large eye needle - I like these blunt ones for seaming
- 9mm safety eyes - get a bunch of this size here or get a set of different sizes here
- polyfil stuffing - I like using this one or the big box!
The pink links are affiliate links to things I love! I receive a small commission at no extra cost to you when you use my links. Thank you!
Stitches & Abbreviations:
- Magic loop
- ch - chain
- SC - single crochet
- DC - double crochet
- sl - slip stitch
- BO- bind off/fasten off
- BLO - back loop only
- FLO - front loop only
Pattern Notes:
- Skill level: Beginner
- Sizing: 3.5" tall for the head, the tentacles are up to you
- Gauge: 6S x 5R per inch
Useful Amigurumi Tips
- All patterns are in English and written in standard USA terms
- inc - increase by working 2 stitches into the same space
- dec - decrease across 2 stitches using an invisible decrease
- Keep stitches tight to prevent holes for stuffing to show through. If there are holes, go down a hook size.
- All pieces are worked in continuous rounds unless otherwise stated. Use stitch markers to mark the first stitch of each round.
- Safety eyes are used in these patterns, but feel free to stitch on eyes instead for children under 3 years old.
- If you have any questions, email me at hello@theblueelephants.com
Jenni the Jellyfish: Free Crochet Jellyfish Pattern

Head
Round 1: Create a magic loop and work 6 SC into in. Pull the loop closed and use a stitch marker to mark the first space. You'll be working in continuous rounds for the entire pattern.
Round 2: Inc in each space by working 2 SC into each (12).
Round 3: *SC, inc* around (18).
Round 4: *SC 2, inc* around (24).
Round 5: *SC 3, inc* around (30).
Round 6: *SC 4, inc* around (36).
Round 7: *SC 5, inc* around (42).
Round 8: *SC 6, inc* around (48).
Rounds 9-18: SC around for 10 rounds.
Insert the eyes on the 6th round from the last increase round and about 6 stitches apart. You can play around with the placement, but once you're happy with it, secure the backings. Start to add in the stuffing now. I used Fairfield's Polyfil stuffing for this and for all my plushies.
Round 19: Working in FLO, HDC 3 into each stitch around.
Round 20: Working into the BLO of round 18, *SC 6, dec* around (42).
Round 21: *SC 5, dec* around (36).
Round 22: *SC 4, dec* around (30).
Round 23: *SC 3, dec* around (24).
Round 24: *SC 2, dec* around (18). Finish adding stuffing.
Round 25: *SC, dec* around (12).
Round 26: Decrease around (6). Slip stitch across the hole to close it.

Tentacles (watch video)
Chain 26, turn and SC along the chain back to the base of the head. Slip stitch to another space and repeat 9 times. It helps to work in a spiral away from the center of the body to keep the tentacles neat.
After you work the last tentacle, slip stitch to the base, trim the yarn and weave in the end to finish.


💙 Prefer an ad-free, printable version?
Grab the PDF with stitch counts, formatting, and instant download.
I loved making this crochet jellyfish and I hope you do too! This pattern works up really fast and because it's all in one piece, you don't need to worry about seaming or having extra tools. I would bring the yarn, stuffing, and eyes with me to craft fairs and just whip a few up during slow times or when I was running low!
You may also like...
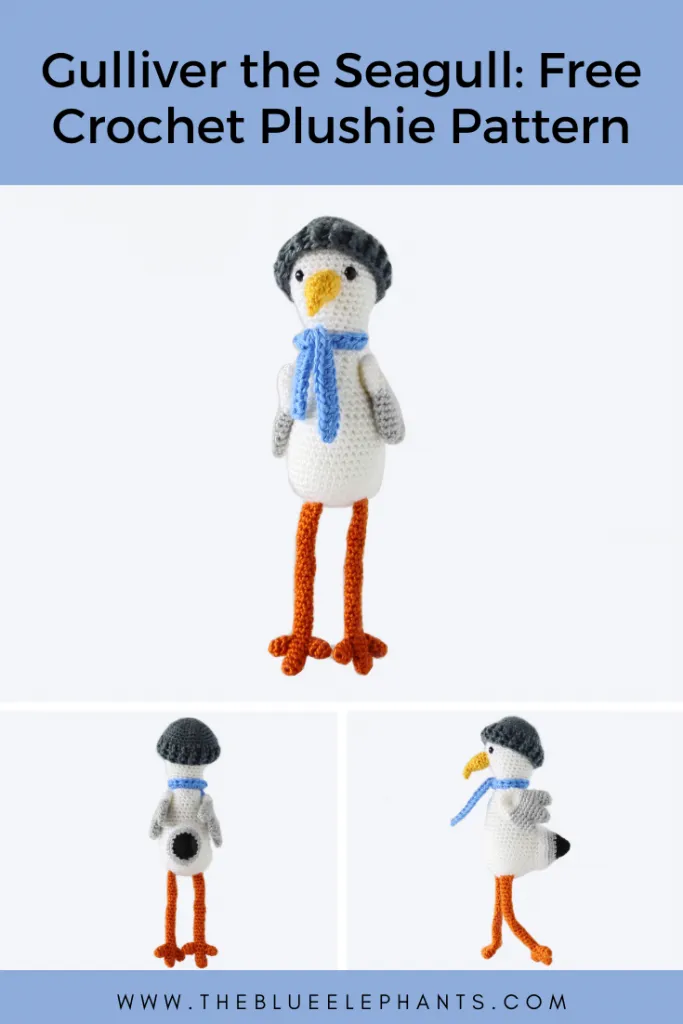
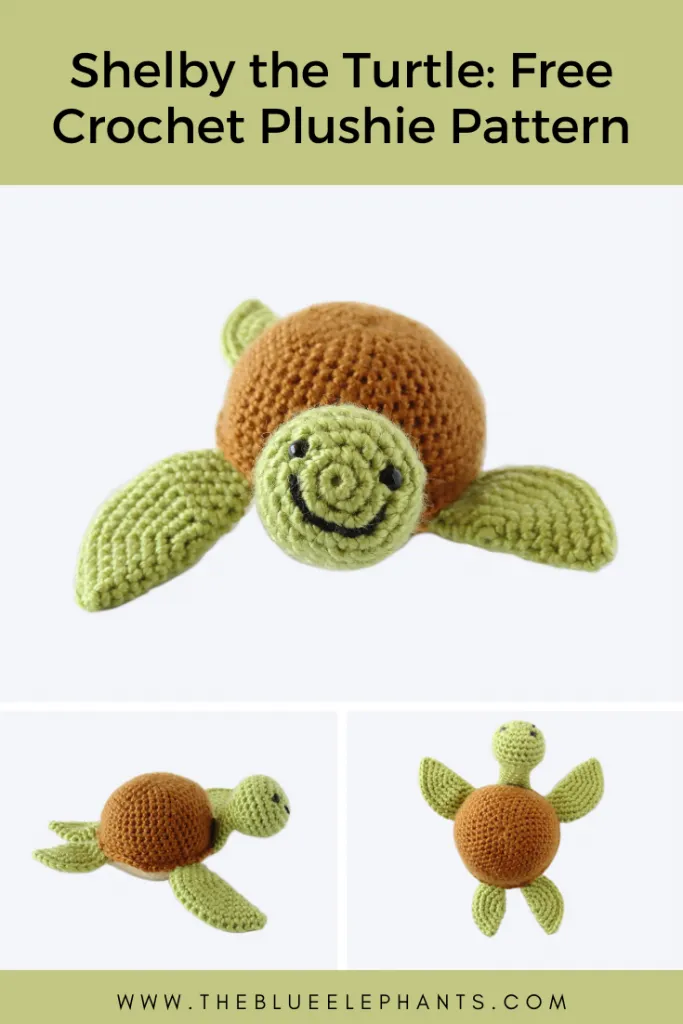
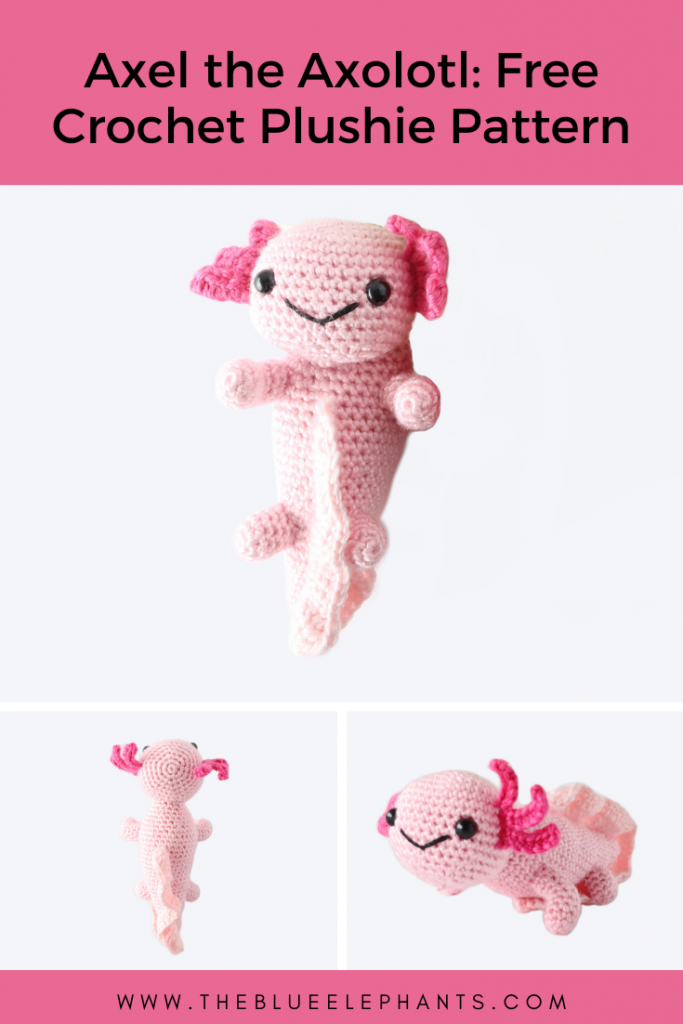
Jenni is part of a collection of beach and seaside-themed patterns, so check out the 6 other patterns below. Like this pattern, you can get the others as free patterns on the blog, or visit the shop to grab the bundle of all 7 PDF Beach Buddies patterns.
Beach Buddies Collections
- Jenni the Jellyfish
- Melly the Mermaid
- Axel the Axolotl
- Percival the Pirate
- Shelby the Turtle
- Gulliver the Seagull
- and Danny the Diver

And if you haven't already, be sure to sign up for the newsletter using the box below! You'll get free patterns, tutorials, and so much more delivered right to your inbox, and it's completely free. Thanks so much for hanging out with me today!
See you soon 🙂


This jellyfish pattern is incredibly adorable and perfect for handmade gifts. I love the playful design, and your step-by-step guidance makes the entire project enjoyable and stress free.
It's really great please share some more patterns like this I really enjoy these patterns.
I would love these patterns. I am left handed so it takes me a little time to adapt the pattern. shoefactory2@yahoo.com.
Itried this and got quite confused but it turned out much bigger than i was expecting
Hi! The sizing can vary based on your own yarn and hook and tension combo
I'm confused on round 19. What do I do exactly? I tried to google "hdc 3 into one stitch" but it showed me a lot of different results.
Into each stitch, you work 3 HDC stitches to create the ruffle. So you work one HDC as normal, and then work 2 more into the same space, and just continue that around
This is so cute omg! Mine turned out very cute! I dod sort of change the pattern a bit especially with the tentacles but nonetheless, it is adorable!
Theirs was a fun project
Can anyone estimate how much of the skein of yarn this uses? I am trying to estimate the amount of yarn needed for one because I want to make 3. Thanks for any guesses you can give me!
Hi! One skein of this yarn usually gets me 2 and half jellyfish 🙂
@Shehla Ahmed, Thank you so much! That’s exactly what I needed to know!
Love this! Made it for a friends kiddo. It worked very well and was very easy:)
I really loved the pattern and I wanted to ask: I got a reccomendation to crochet this jellyfish for money so could I use your pattern and then sell the product? Thank you very mych again!
Oh, sorry I already found the part talking about recreating your pattern and selling it:)
Everyone loves your pattern<3
No worries! Good luck with your sales and please tag me in any pictures so I can share them as well!
Thank you so much for creating Jenni the Jellyfish! I love her!!! I am keeping her for my collection of things for my grandchildren to play with when they come to visit!!! You patterns are easy to follow and I love that she is made with no sewing!!!
I'm so glad you like her! I can't imagine having to sew all those tentacles on, so I'm glad it was easy to follow. And thank you!
Not quite clear on how to attach the tentacles ,do you attach the yarn to start with or just do the chain and attach after?
The tentacles are worked as one piece with the body, so there's no attaching them! When you finish the bottom of the jellyfish, you slip stitch across the bottom to the spot of the first tentacle, chain and work back along the chain to the body, then slip stitch to the next location. I hope that helps!
After the half double crochet in round 19, were we meant to do anything to end that row? My row looks strange when trying to back loop back into for 18, it kind of crossed over and made the following row(21) a little off in that section also.
No, after you work the FLO only, the next round is through the BLO. There will be a small section that crosses over at the beginning/end of that row but it should just spiral into the next part where you decrease for the bottom.
On the tentacles is it one or two SC in each chain
It's one SC in each chain